Tampilkan postingan dengan label on. Tampilkan semua postingan

Sabtu, 07 Maret 2015

Cross-posted from the Google Australia blog 

From the snow-capped summit of Mount Kosciuszko, to the beaches at Bondi and the seafloor of the Great Barrier Reef, every person can explore our country’s most beautiful locations on Google Maps.

To celebrate the once-in-a-decade IUCN World Parks Congress that’s taking place in Sydney this week, we’ve partnered with New South Wales National Parks and Catlin Seaview Survey to bring 21 parks and 27 underwater locations across Australia to Street View.

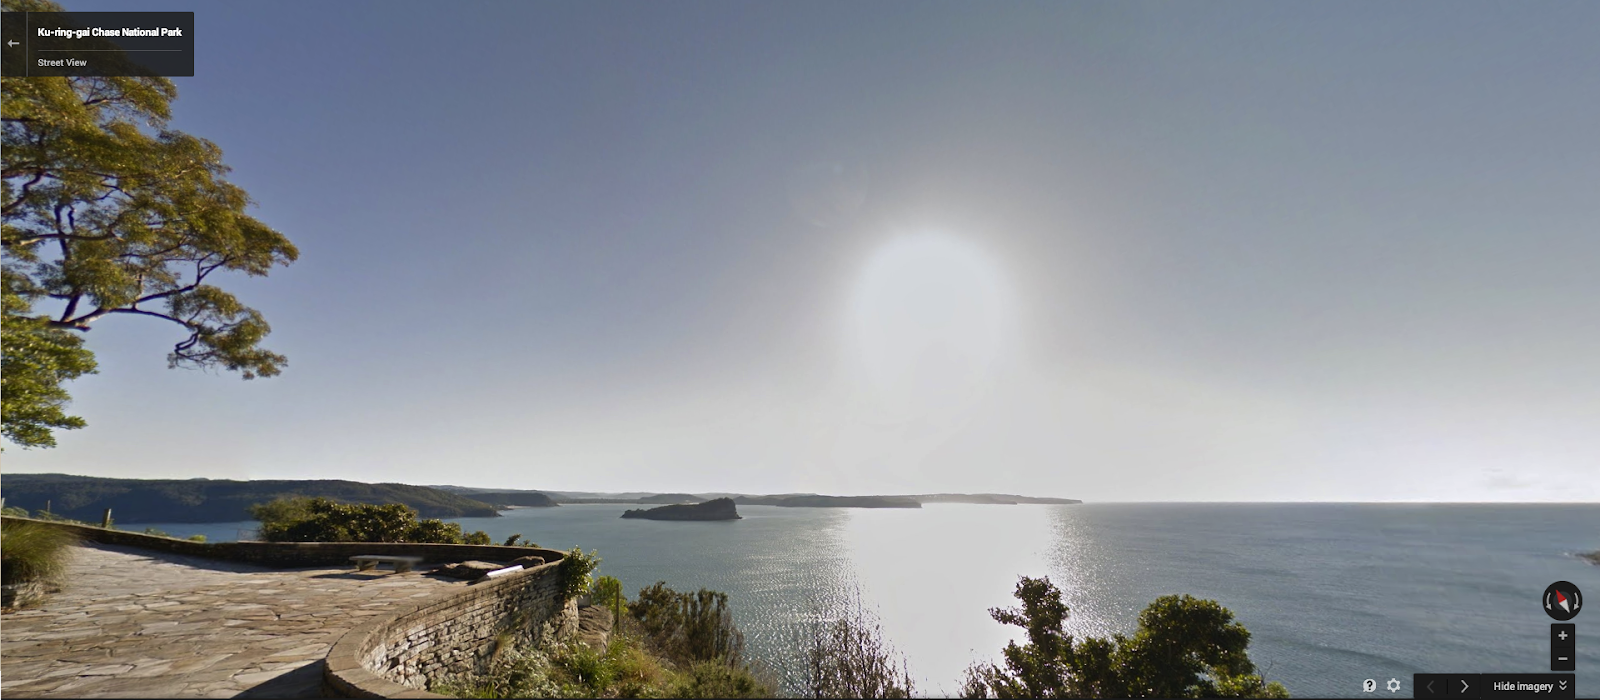
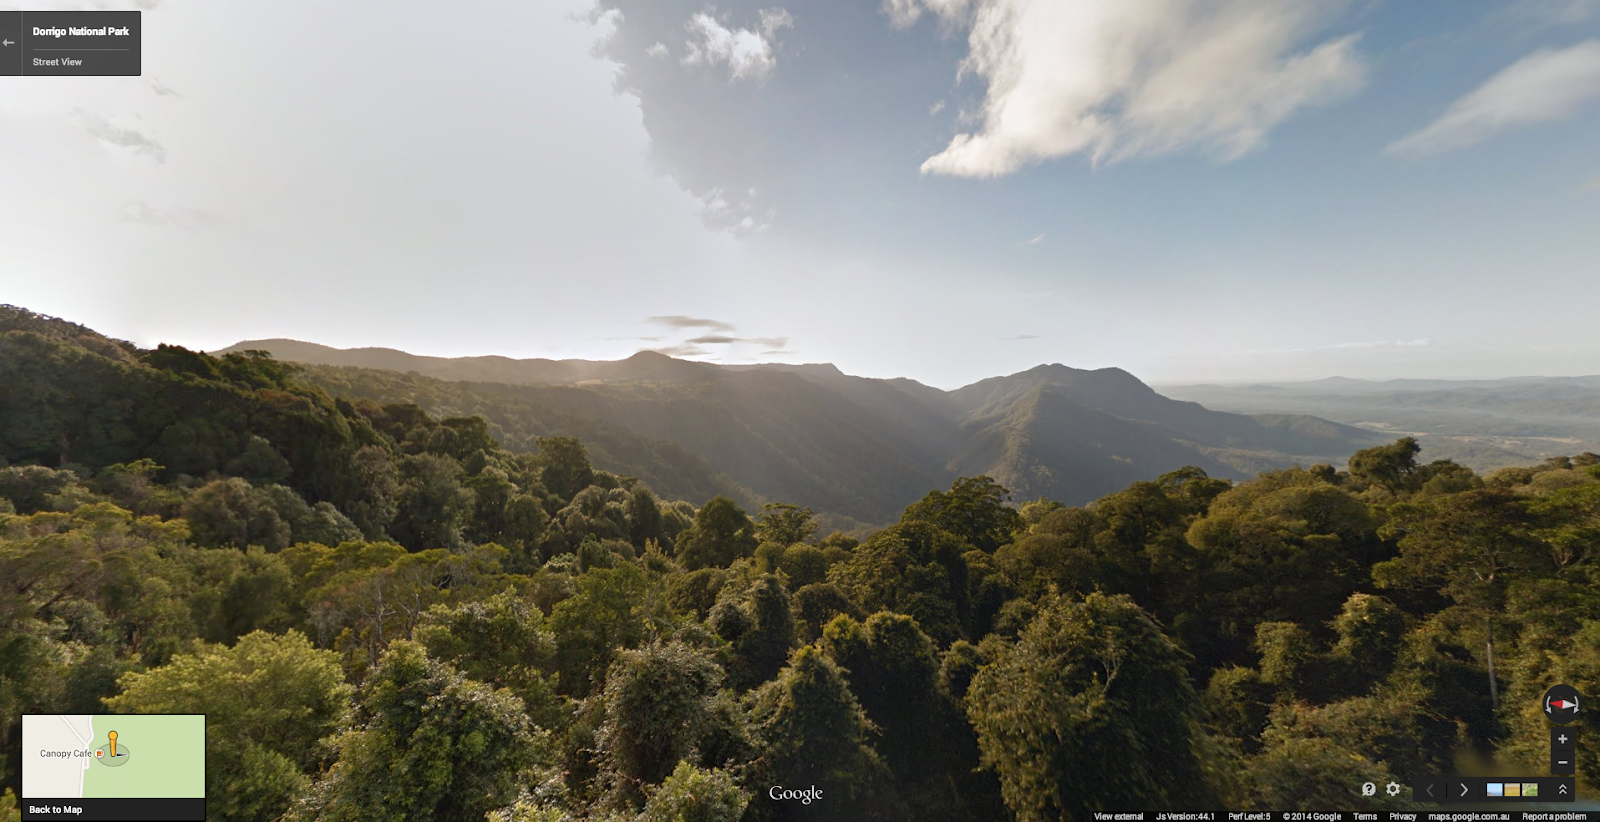
Beyond Mount Kosciuszko, bushwalkers can take a virtual hike through Fort Denison, Dorrigo National Park, Ku-ring-gai Chase, Cape Byron lighthouse and 16 other parks across New South Wales.
At the summit of Mount Kosciuszko
Looking over the cannons at Fort Denison
Screen Shot 2014-11-13 at 5.37.49 PM.png
West Head Lookout at Ku-ring-gai Chase National Park
Screen Shot 2014-11-13 at 1.50.33 PM.png
The view over Dorrigo National Park

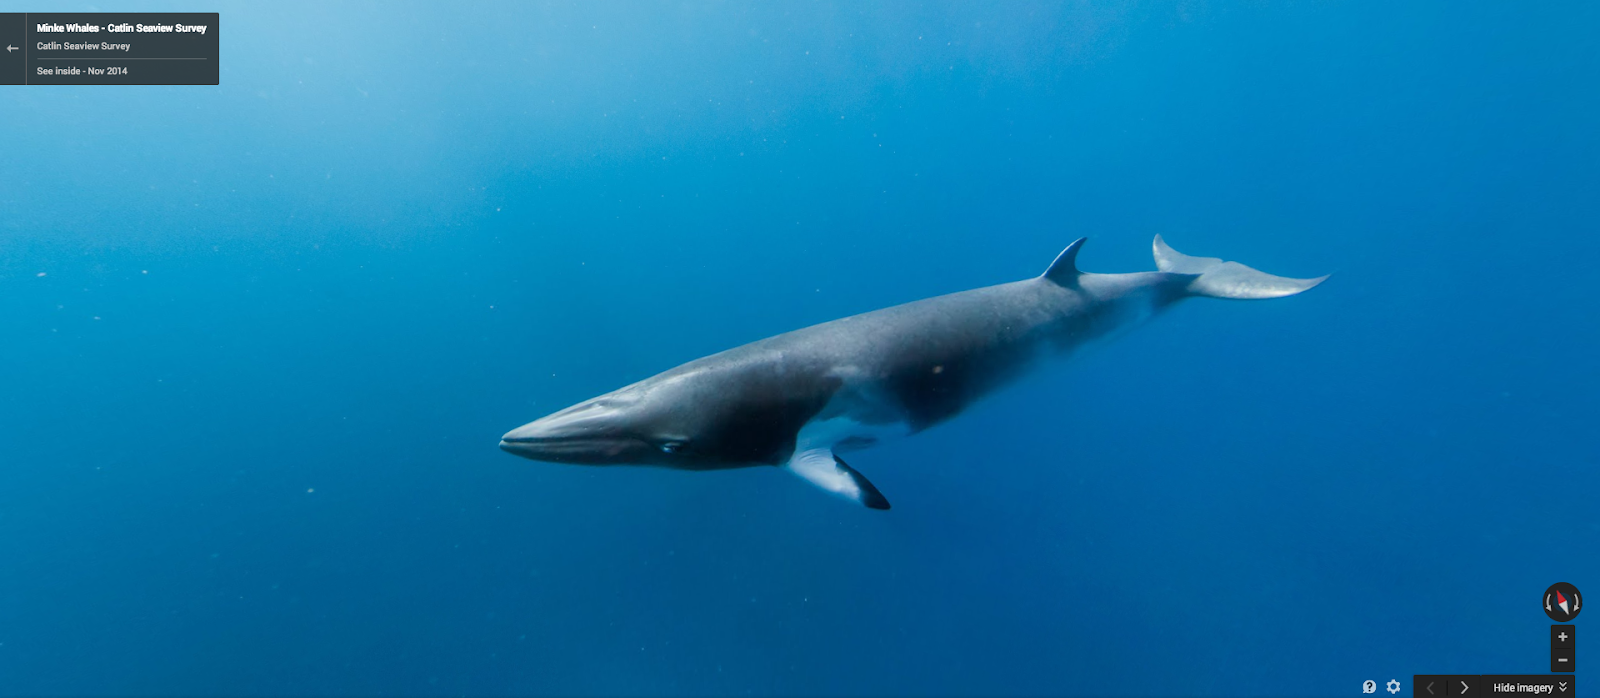
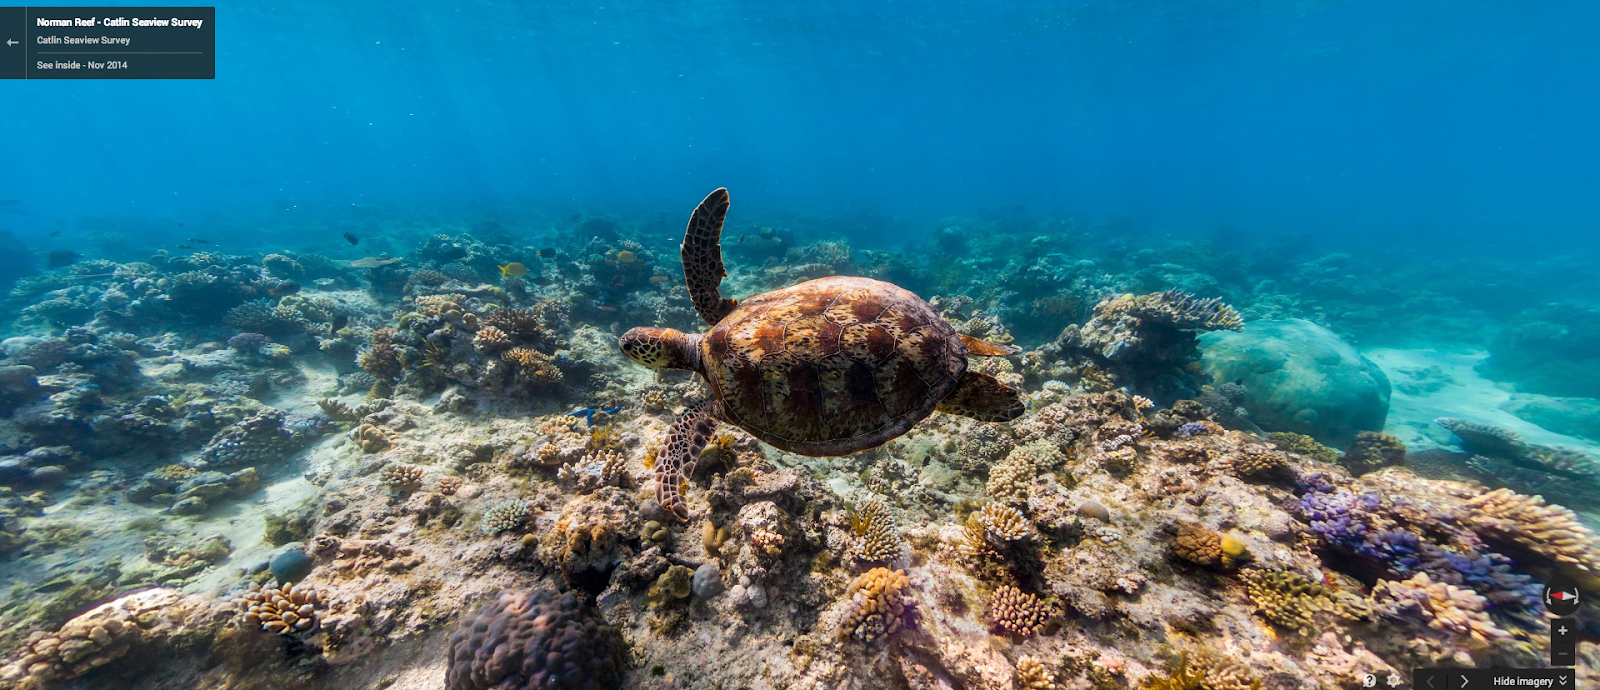
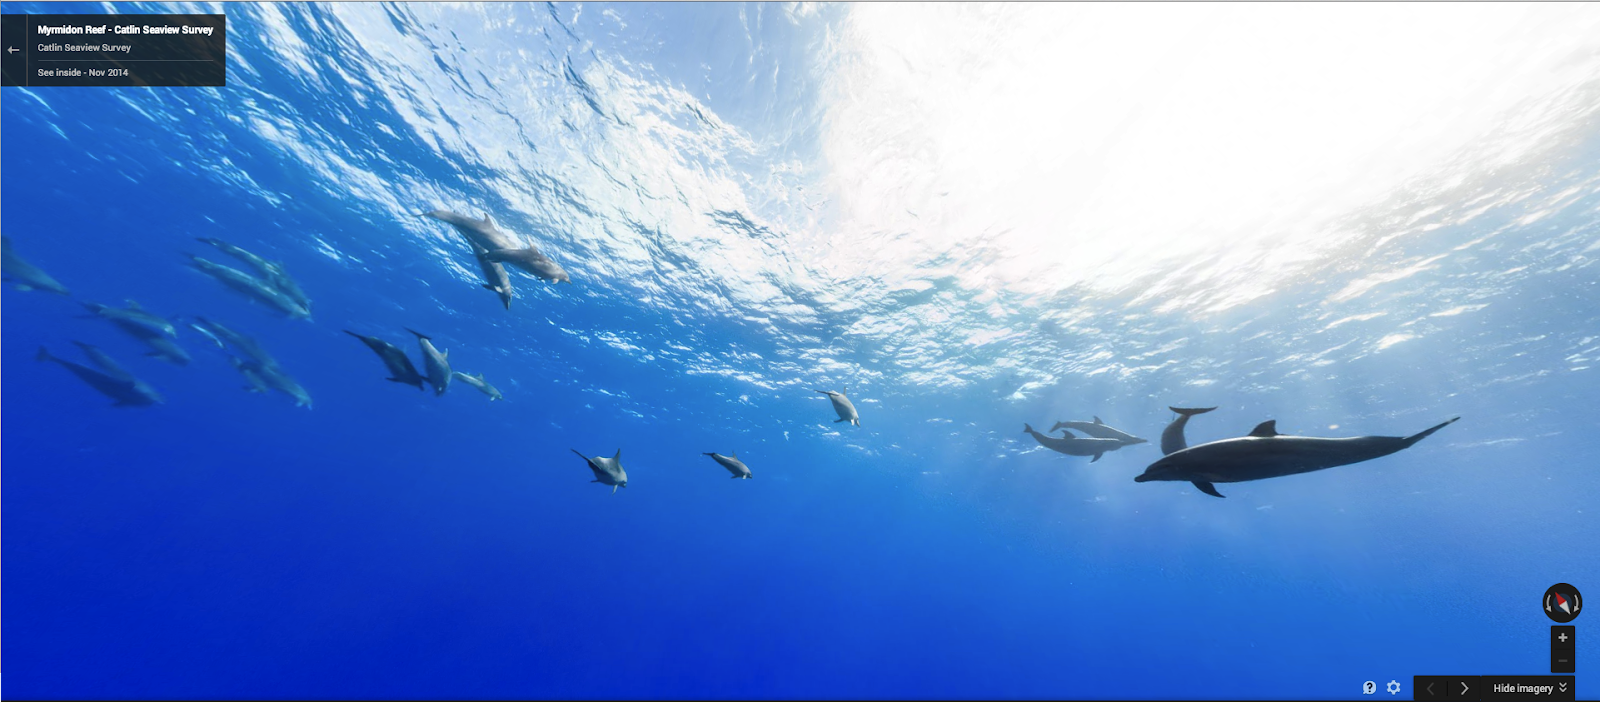
Divers can get up close with Minke whales, a seahorse in Chowder Bay, Magic Point sharks, dolphins near Myrmidon Reef and even a Norman Reef sea turtle. 
Screen Shot 2014-11-13 at 2.06.04 PM.png
A Minke whale in the Great Barrier Reef
Screen Shot 2014-11-13 at 2.06.38 PM.png
A sea turtle in Norman Reef
Screen Shot 2014-11-13 at 5.24.58 PM.png
Dolphins off Myrmidon Reef

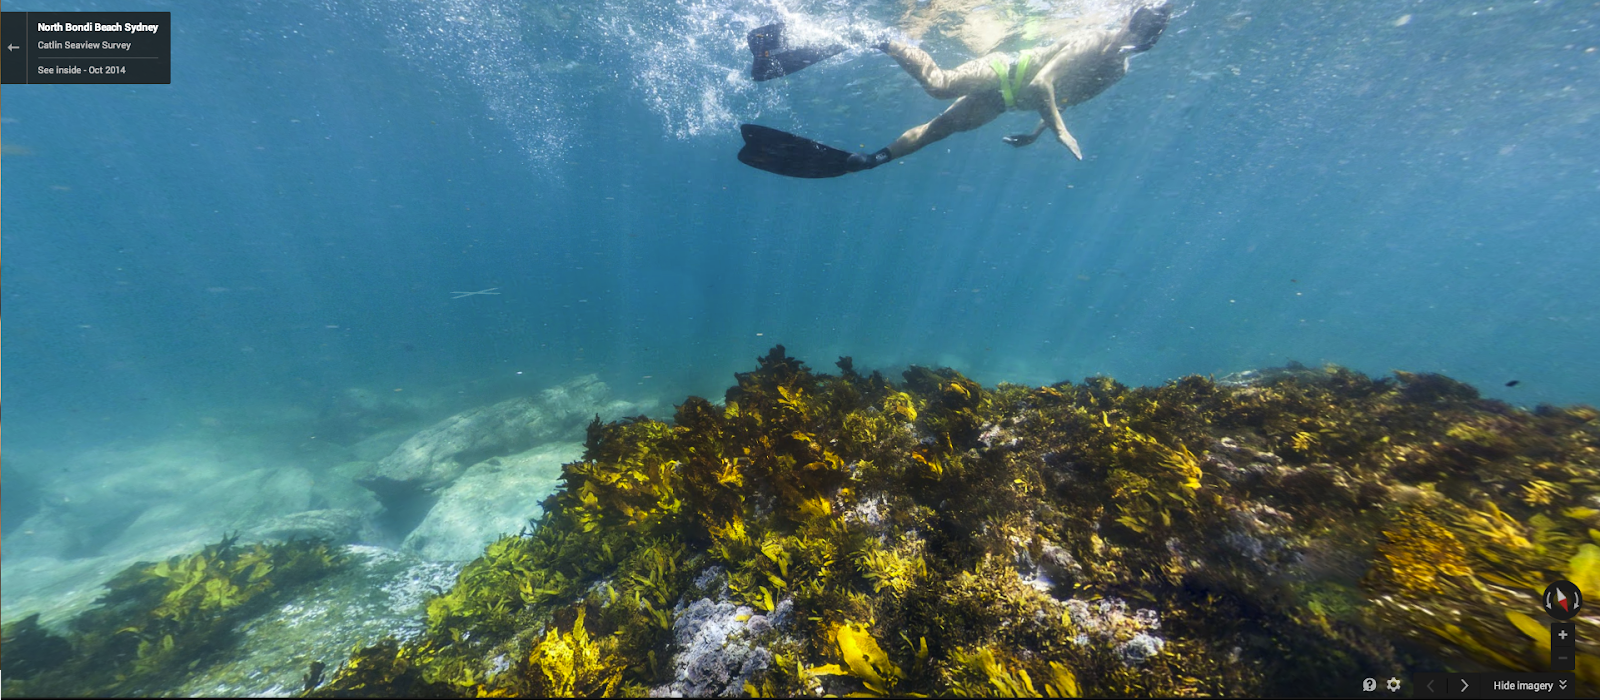
From the depths of Sydney Harbour to the iconic Bondi Beach and all along the Great Barrier Reef, we hope you enjoy exploring these locations from a whole new perspective.
Screen Shot 2014-11-13 at 2.07.18 PM.png
Beneath the waves at Bondi Beach

We hope this new Street View imagery not only inspires adventure, but that it also helps people to learn more about the delicate ecology of our parks and underwater worlds. 


Read More..

Senin, 02 Maret 2015

When  tried to remove (settings->accounts & sync) the gmail account that was used during the initial phone setup, it erase almost anything on your phone, like contacts, photos, messages etc, and prompted this message ->
Remove account
This account is required by some applications. You can only delete it by resetting the phone to factory defaults.
You can simply change, erase and register new or another Gmail account, but you have to do a Factory Reset. To do a factory reset of your phone will make you set it up again from scratch. But I have a simple tips how to remove or change your GMail account on Android Market without doing a Factory reset.

1. Download the application Root Explorer from Android Market
2. Once already downloaded or installed the Root Explorer,
Explore to /data/system/ and find this file : accounts.db
3. Delete that file (accounts.db)
4. Reboot your Android device.
5. Then you can register another account again.
Read More..

Jumat, 27 Februari 2015

Heres a simple guide on how to set a custom ringtone to your message alerts on your Samsung Galaxy S II. If youll notice that you cant find an option to set what you desired music or tone to set it as a message notification alert.
Samsung Galaxy S2 custom message ringtone
Heres how to do it:

Connect your Samsung Galaxy S II to your computer or laptop and select "connection type" and get access to storage memory card. If you are having trouble on connection see the guide here.
Now after you have successfully connected you galaxy S II, browse to your mass storage then find the folder "Notifications", if its not on there, create a new folder and named it "Notifications".

Then grab a copy music files you wanted from your computer into that newly created folder "notifications". Once finishes, disconnect your Galaxy S II from the computer. Then you can set that music files as your message tone.

- Go back to the idle screen. Press the Home key.
- Then open the application list.
- Select Messaging.
- Then press on the Menu android-menu-key key.
- Then tap on Settings.
- Tap on the Notifications checkbox and ensure that the checkbox is checked.
- Tap on Select ringtone.
- On the popup select the ringtone you desire.


Heres how to make a custom notification message ringtone on the Samsung Galaxy S2 when you already have a music files stored or saved on your phone.


- Go to Menu
- My files, media
- Then make a map called Audio.
- Open that map, and there you make another map called Notifications.
- Move your mp3/sound/song/ringtone in that map.
- Now you can choose it in settings, sound, notification ringtone.

You can do the same thing with calling ringtones and alarms.
For that, make a map called Ringtones or Alarms in the Audio map. So in Audio will be three maps, Ringtones, Alarms and Notifications.
Read More..

Kamis, 26 Februari 2015

From a news month ago that HTC spokesperson has confirmed the Honeycomb upgrade for HTC flyer will be made available as soon as possible after it releases. Its been little while ago since that report claimed. But now, you might probably already know, The Beta version of the Honeycomb for HTC Flyer has leaked a few days ago. Advance users already tested the said ROM even its been somewhat very complicated to install. The process reportedly tested and works on a Euro WWE 32 GB 3G Flyer and may also work with other variants but unconfirmly works well so far.

Heres a few screenshoots just for a brief details of what have we got to the the HTC Flyer Honeycomb update.
HTC Flyer Honeycomb Firmware SS2


Important Things Needs to Consider Before Following this Guide:
* This process is recommended for experts only!
* This guide is only tested on a Euro WWE 32GB 3G Flyer - it may work on other configurations, but this is untested (id advise reading the topic to see if anyone has experimented with your configuration!)
* Anything you do from this point forward is at your own risk - my Flyer works and ive resurrected a couple of others, but I take no responsibility if it all goes horribly wrong. You COULD brick your tablet
* Do NOT under any circumstances run the RUU in its entirety nor fastboot flash rom.zip - this will make irreversible changes that you dont want!
* Be careful if you flash any RUUs or do anything that could revert you to S-ON on a broken system - this could leave you stuck
The installing process needs to ensure that you have an RUU that matches the ROM version of your HTC Flyer just a back up if anything went wrong and can roll back the process. You can follow the complete step by step installation guides from Paul of Android Modaco here on this thread.
Read More..